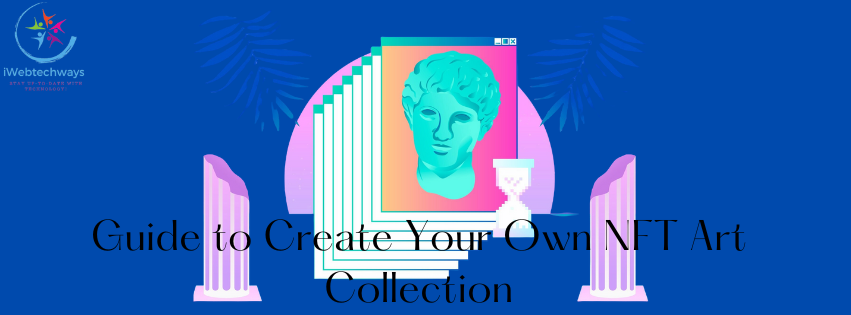
With the rise of blockchain technology and the growing popularity of digital art, Non-Fungible Tokens (NFTs) have carved a niche in the world of art and finance. NFTs represent unique digital assets verified through blockchain, providing a new avenue for artists to monetize their work. Here’s a step-by-step guide to help you create your own NFT art collection.
Understanding NFTs
Before diving into creating your NFT art collection, it’s essential to understand what NFTs are. Unlike cryptocurrencies like Bitcoin or Ethereum, NFTs are unique and cannot be exchanged on a one-to-one basis. Each NFT contains distinct information making it distinguishable from any other token, often representing digital art, music, videos, and other creative works.
Step 1: Create Your Digital Art
The first step in creating an NFT art collection is to produce your digital art. This can be anything from digital paintings, 3D models, animations, or even virtual reality art. Utilize software like Adobe Photoshop, Illustrator, Blender, or other creative tools to bring your vision to life. It’s vital to ensure that your art is original and showcases your unique style.
Tips for Creating Digital Art:
- Find Your Style: Experiment with different styles and techniques until you find one that represents your artistic voice.
- High Resolution: Ensure your digital artwork is of high resolution to provide the best quality for your audience.
- Consistent Theme: Consider creating a collection around a common theme or story to make it more cohesive and appealing.
Step 2: Choose a Blockchain and NFT Marketplace
NFTs are minted (created) on a blockchain, and the choice of blockchain can affect various factors like transaction fees and audience reach. The most popular blockchain for NFTs is Ethereum, but alternatives like Binance Smart Chain, Flow, and Tezos are also gaining traction.
Next, select an NFT marketplace where you will mint and sell your NFTs. Some popular marketplaces include:
- OpenSea: A versatile marketplace supporting a wide range of digital assets.
- Rarible: A decentralized platform where users can vote on platform upgrades.
- Foundation: Known for its focus on digital art and being artist-friendly.
- Mintable: Easy-to-use platform encouraging even beginners to create NFTs.
Factors to Consider:
- Fees: Consider the minting and listing fees associated with each marketplace.
- Ease of Use: Choose a platform that you find user-friendly.
- Community: Some platforms have stronger communities which might help in promoting your art.
Step 3: Mint Your NFTs
Minting an NFT means converting your digital art into a token on the blockchain. Here’s a general process:
- Create a Wallet: You’ll need a digital wallet compatible with the chosen blockchain. Some popular wallets include MetaMask, Trust Wallet, and Coinbase Wallet.
- Fund Your Wallet: Purchase cryptocurrency (e.g., Ether if you’re using Ethereum) to cover transaction fees.
- Connect to the Marketplace: Link your digital wallet to the NFT marketplace.
- Upload Your Art: Follow the platform instructions to upload your digital art.
- Mint the NFT: The marketplace will convert your artwork into an NFT, usually in exchange for a minting fee.
Tips for Minting:
- Metadata: Add detailed metadata, including the name, description, and any additional information about your artwork.
- Royalties: Set up royalties to earn a percentage of sales each time your NFT is resold in the future.
Step 4: Market Your NFT Collection
Once your NFTs are minted, it’s time to market them to potential buyers. Effective marketing can make a significant difference in the success of your NFT collection.
Strategies for Marketing:
- Social Media: Use platforms like Twitter, Instagram, and TikTok to showcase your art and reach a larger audience.
- Collaborations: Partner with other artists or influencers to promote your collection.
- Community Engagement: Engage with the NFT and digital art communities on platforms like Discord and Clubhouse.
- Storytelling: Share the story behind your art and what makes it unique to help buyers connect on a personal level.
Step 5: Sell and Manage Your NFTs
Finally, list your NFTs for sale on your chosen marketplace. You can set a fixed price or opt for auctions, depending on your strategy and platform capabilities.
After the Sale:
- Track Sales: Keep track of your sales and interactions.
- Manage Royalties: Ensure that you’re receiving royalties from secondary sales.
- Stay Engaged: Continually engage with your community and collectors to maintain interest in your work.
With these steps and strategies, you’ll be well on your way to creating a successful NFT art collection. Embrace the journey and the opportunities it presents to explore new creative horizons and connect with a global audience.